CSS Hover
The :hover effect is for selecting the elements when we move the mouse on them.we can use the :link selector. To style the link for visited pages, we can use the :visited, and to style the active links we can use the :active selector.
The hover feature:
- Change the background color and font color.
- Modify the opacity of the image.
- Text embedding.
- Create image rollover effects.
- Swapping of images.
Syntax:
:hover {
 css declarations;
}
Changing the link color:
The link gets changed when we place the cursor.
Example:
<html>
<head>

 <style>
   body{
    text-align:center;
   }
   a
   {
     color: #cc0066;
   }
   a:hover
   {
     color: green;
   }
   a:active
   {
     color: #3333ff;
   }
 </style>
</head>
<body>
 <h1>Move the mouse on the below link to see the hover effect.</h1>
 <a class = "link" href = https://www.i2tutorials.com/>CSS Grid</a>
</body>
</html>
OUTPUT:

Text overlay on image hover:
Text on the image during mouse hover.
Example:
<!DOCTYPE html>
<html>
<head>
<meta name="viewport" content="width=device-width, initial-scale=1">
<style>
 body{
  text-align:center;
 }
* {box-sizing: border-box;}

.container {
 position: relative;
 width: 50%;
 max-width: 300px;
}

.image {
 display: block;
 width: 100%;
 height: auto;
}

.overlay {
 position: absolute;
 bottom: 0;
 background: rgb(255, 230, 230);
 width: 100%;
 opacity:0;
 transition: .9s ease;
 font-size: 25px;
 padding: 20px;
}

.container:hover .overlay {
 opacity: 1.5;
}
</style>
</head>
<body>

<h1>Image Overlay Title Effect</h1>

<center>
<div class="container">
   <img src="good-morning.jpg" class="image">
   <div class="overlay">Welcome to I2 tutorials</div>
</div> </center>

</body>
</html>
OUTPUT:
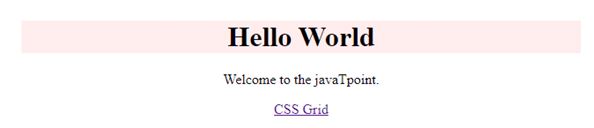
Apply hover on paragraph:
Example:
<html>
<head>
<style>
 body{
  text-align:center;
 }
p:hover, h1:hover, a:hover{
background-color: #ffe6e6;
}
</style>
</head>
<body>
<h1>Hello World</h1>
<p>Welcome to the javaTpoint.</p>
<a href='https://www.i2tutorials.com/'>CSS Grid</a>
</body>
</html>
OUTPUT: