
Kubernetes Setup
Install Minikube
Install Minikube on Ubuntu once VirtualBox is set up.
- Use the wget command to download the latest Minikube binary:
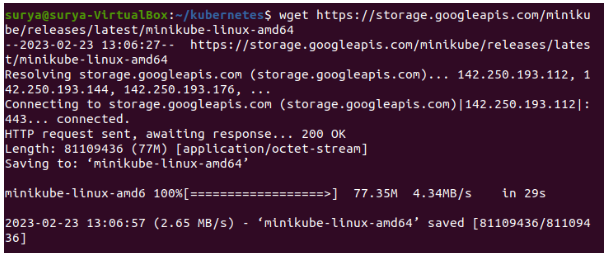

$ wget https://storage.googleapis.com/minikube/releases/latest/minikube-linux-amd64- The downloaded file should be placed in the /usr/local/bin/minikubedirectory along with:
$ sudo cp minikube-linux-amd64 /usr/local/bin/minikubeIf the command was executed correctly, there will be no output.
- With the chmod command, give the file executive permissions:
$ sudo chmod 755 /usr/local/bin/minikube
There will be no output again.
- Check the version of Minikube to make sure you’ve installed it successfully:
$ minikube version
In the image below, you can see the software’s version number.


Kubectl install
For cluster management, install kubectl, the official command line tool for Kubernetes.
- Here’s how to download kubectl:
$ curl -LO https://storage.googleapis.com/kubernetes-release/release/`curl -s https://storage.googleapis.com/kubernetes-release/release/stable.txt`/bin/linux/amd64/kubectl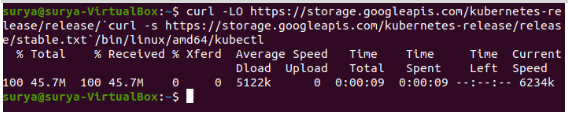

- Type these commands to make the binary executable:
$ chmod +x ./kubectl
- Next, move the binary into your path:
$sudo mv ./kubectl /usr/local/bin/kubectl
- Check your kubectl instance’s version to make sure it’s installed:
$ kubectl version -o json
Step 5: Launch Minikube
Then you’re ready to start Minikube.
Here’s what you need to do:
$ minikube start
The system first downloads Minikube ISO and localkube binary from an online source. Lastly, it starts and configures the cluster in a VirtualBox VM.
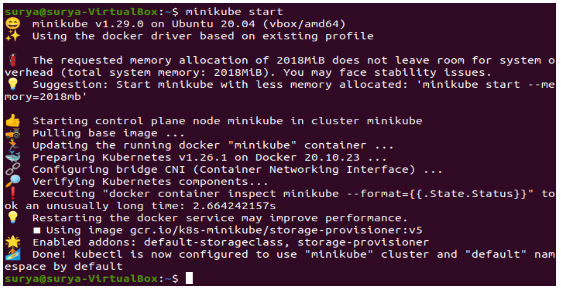

Note: To run minikube with a non-default version of Kubernetes, run minikube start with, for example, –kubernetes-version v1.29.0. If you want to run minikube with a non-default version of Kubernetes, run minikube start with, for example, –kubernetes-version v1.29.0.
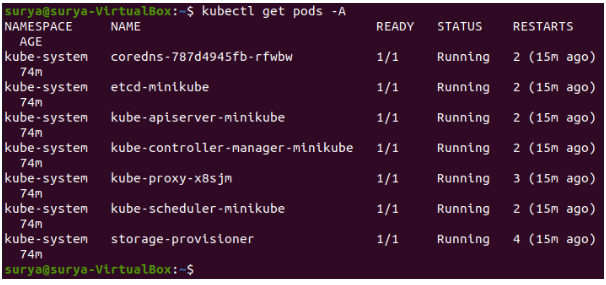
By installing minikube via Ubuntu, you also get kubectl, a tool for managing Kubernetes clusters. For a list of all pods running in your cluster, run kubectl get as you would with any other Kubernetes cluster:
$ kubectl get pods -APods running in all namespaces will be returned with the -A argument.
Output

It’s now running locally, so you can use regular Kubernetes tools like kubectl to work with it. Using minikube’s additional functionality, you’ll be able to monitor and modify your Kubernetes configuration in the next steps of this tutorial.
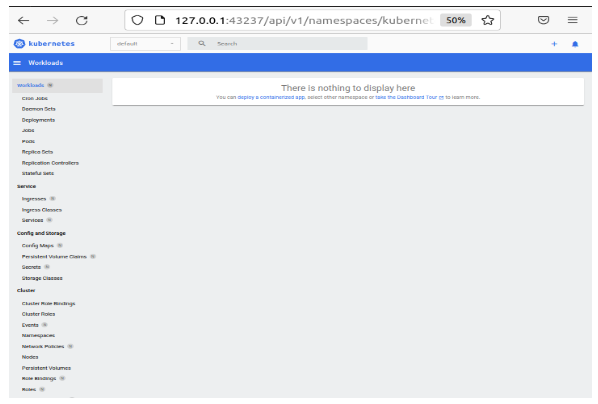
Kubernetes Dashboard access
Using the Kubernetes Dashboard, you can monitor your cluster’s health or deploy applications manually. If you have Minikube locally, you can run minikube dashboard:
$ minikube dashboard
You can access the dashboard directly from within your Kubernetes cluster with this command, which starts the dashboard, forwards a port from inside the cluster, and opens a web browser pointed at that port.

As long as port forwarding is active, it’ll block the terminal you’re running in, so you’ll probably want to run it in a new terminal window. If you want to stop forwarding the port, press Ctrl+C to gracefully shut down a blocking process like this one.
Minikube dashboard can be run with the –url option if you’re running it on a remote server without a web browser.By choosing this option, you’ll start the port forwarding process and get a URL to access the dashboard instead of opening a browser:
$ minikube dashboard --urlOutput


Take note of the port number returned by this command, it’ll be different on yours.
Now that you’ve seen more ways to use minikube like a full Kubernetes cluster, the next step is to deploy and test a sample application.
Sample App Deployment and Testing
Use kubectl to deploy a test application to your Minikube cluster. Here’s an example: Kubernetes app, Google’s hello-app.
$ kubectl create deployment web --image=gcr.io/google-samples/hello-app:1.0You’re creating a deployment called web inside your cluster from an image called hello-app on gcr.io, Google’s container registry.
The web deployment needs to be exposed as a Kubernetes Service with –type=NodePort and –port=8080:
$ kubectl expose deployment web --type=NodePort --port=8080Using kubectl get service, you can check whether the service is running:
$ kubectl get service webKubernetes NodePorts use random ports, so your output will be different:
Output


With minikube, you can now retrieve a URL that is accessible outside the container. You can use this URL to access the hello-app service that runs on port 8080 within your cluster. You do not need to perform any active port forwarding if you are running Minikube locally. You can get your sample application’s URL by running minikube service web -url:
$ minikube service web --urlOutput


In order to connect to that URL, you will need a command line program called curl , which is widely used to make web requests. You should always test a connection with curl first if you are trying to verify it will work under ideal circumstances in a browser.
$ curl http://192.168.49.2:32102Output

