MySQL – Copy Database
Databases are applications that store organized collections of records that can be accessed and managed by users. The data is organized into tables, rows, columns, and indexes so that the relevant information can be found quickly.
The MySQL copy or clone database function allows us to create a duplicate copy of an existing database, including the table structure, indexes, constraints, default values, etc. Making a duplicate copy of an original database into a new database is very useful if the original database is lost or fails accidentally. The most common purpose for making a duplicate copy of the database is to make a backup of the data. Additionally, it is useful when planning major modifications to the original database’s structure.
The steps we need to follow in order to copy a database from one database to another are as follows:
- In order to create a new database, you will need to use the CREATE DATABASE statement.
- The second step is to store the data in an SQL file. In this case, we can name this file whatever we like, as long as it ends with a .sql extension.
- As a third step, you must export all the database objects as well as their data to be copied using the mysqldump tool, and then import the file into your new database.
The following steps will be used in the demonstration to copy the employees database to the employees_copy database using the following steps:
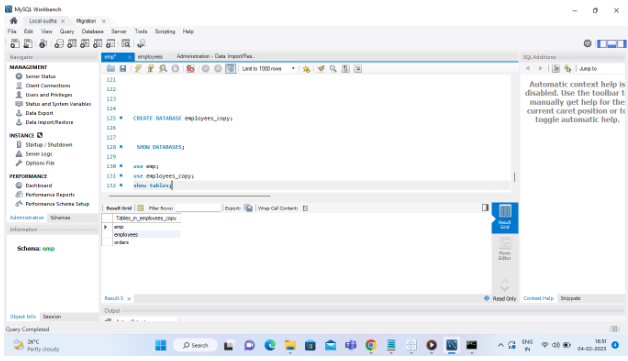
The first thing we need to do is open the MySQL console and write down the password we set during installation. The next step is to create a duplicate database of employees based on the following command:
#start
CREATE DATABASE employees_copy;
#end
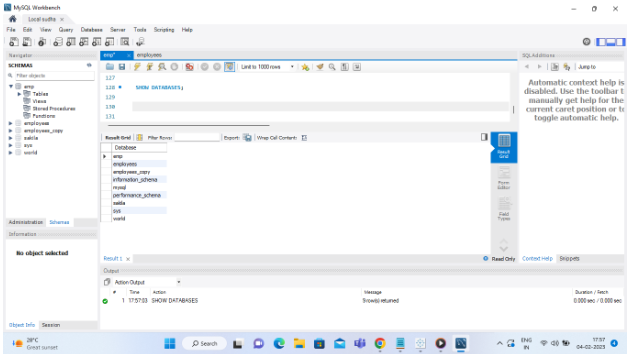
The next step is to verify the database information using the SHOW DATABASES statement:
#start
SHOW DATABASES;
#end
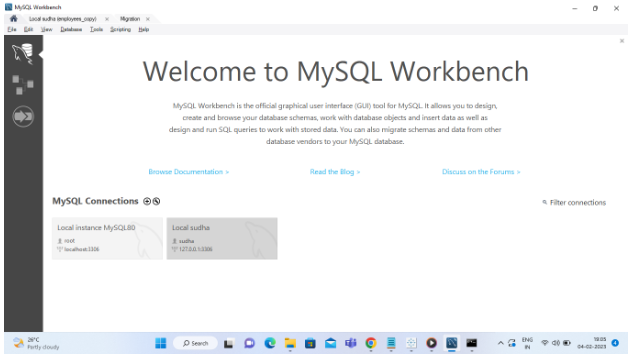
Step 1:
You will need to connect to the database you want to back up by clicking on it under the MySQL Connections tab.
The “Administration” window will appear as shown in the following image.
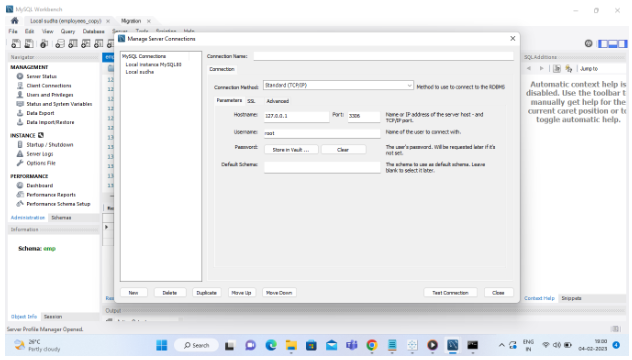
- It is important to give the connection a suitable name.
- The “Connection Method” should be set to “Standard (TCP/IP)” (you can also set it to SSH connection configuration as per your requirement).
- The hostname or IP address of the MySQL server should be added.
- Please enter the username and password for your MySQL database.
- By clicking on the “Store in Keychain…” button, you will be able to set the password for the keychain. If you do not want to set a password, you can skip this field.
- To test the connection, click the “Test Connection” button.
Step 2:
There is a data export option under the “Management” tab on the left sidebar of the screen.
Step 3
- There will be a list of databases that are available to you.
- Select the checkbox next to the database that you wish to export and click on it.
- Click on the name of the database if you want to back up a specific table within it.
- There will be a list of all the tables in the selected database on the right hand side of the screen.
- You can check the box next to the table by clicking on it.
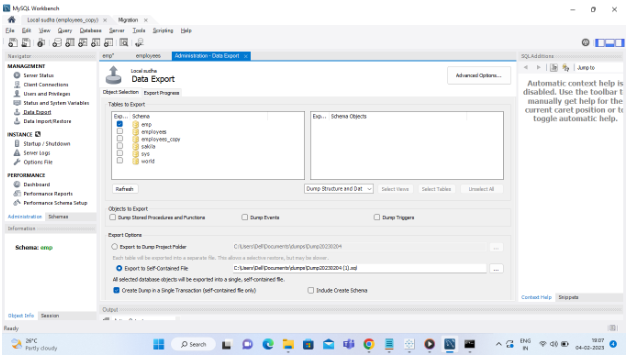
Step 4
- In the “Export Options” section, select the appropriate option.
- An entire database can be restored more easily by using the “Self-Contained File” method, especially if you are dealing with a disaster recovery scenario. There is also an option to export to the dump project folder, which will make separate backups of each table. When the “Export to Dump Project Folder” method is used, it is easier to restore single tables if the need arises in the future. It is important to make sure that the method you choose is appropriate for the purpose of the backup. It is recommended to use “Export to Self-Contained File” if you are simply archiving the database.
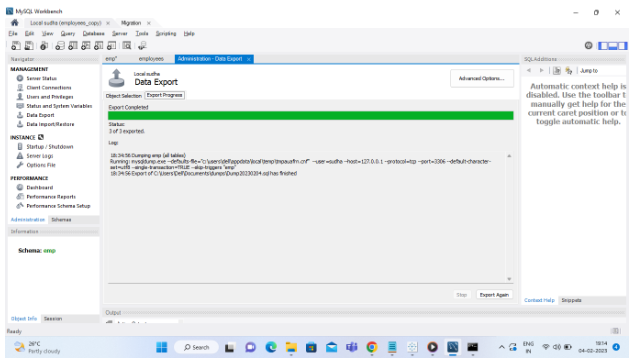
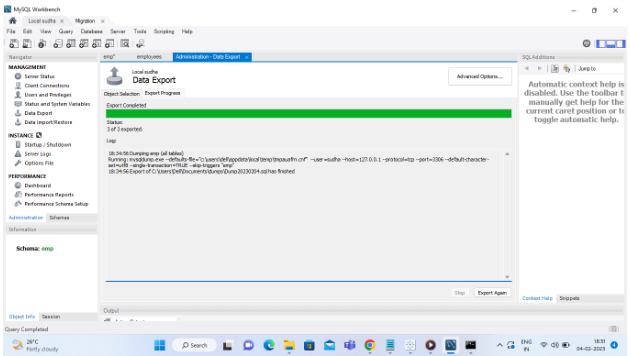
Step 5
- You will need to click on the “Start Export” button.
- Through the “Export Progress” feature, you will be able to track the progress of the export.
Step 6
There is a data import option under the “Management” tab on the left sidebar of the screen.
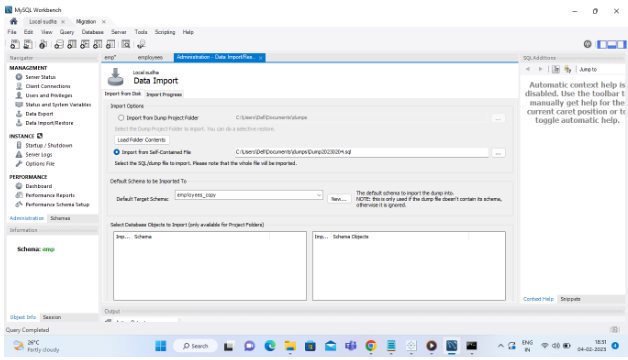
Step 7
- Selce downloaded .sql file and import
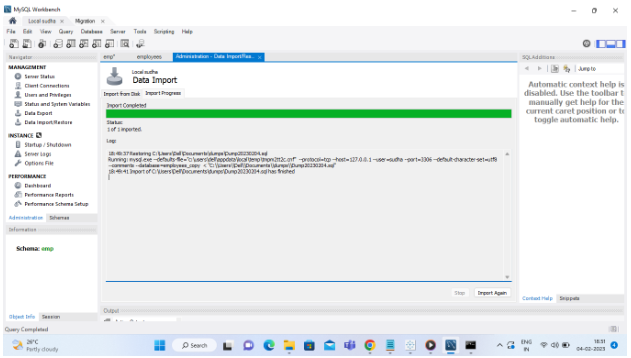
Step 8
- Select database and select tables