Power BI – Desktop Installation
There are two ways to get Power BI Desktop.
- Install as an app from the Microsoft Store.
- Download directly as an executable and install on your computer.
With either approach, you will have the latest version of Power BI Desktop on your computer. Despite this, there are a few differences worth mentioning, as described below.
Install as an app from the Microsoft Store
The most recent version of Power BI Desktop can be downloaded from the Microsoft Store in several ways.
- Open the Power BI Desktop page of the Microsoft Store by selecting one of the following options
- Open a browser and go directly to the Power BI Desktop page of the Microsoft Store.
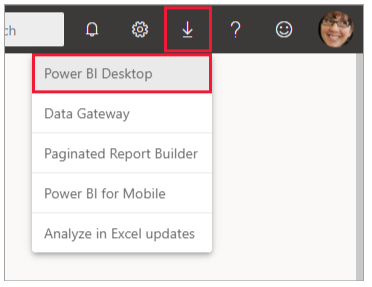
- From the Power BI service, in the upper right corner, select the Download icon and then choose Power BI Desktop.
- Go to the Power BI Desktop product page, and then select Download Free.
2. Choose Install from the Power BI Desktop page of the Microsoft Store.
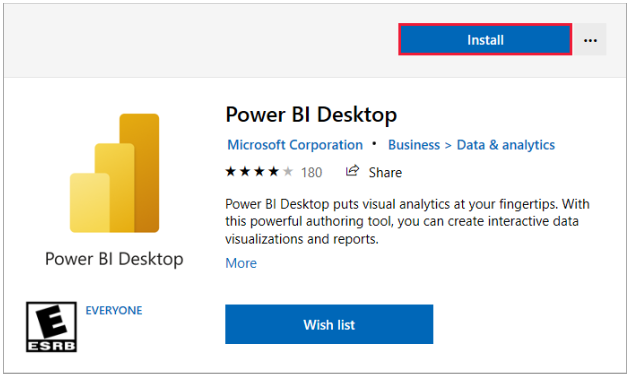
To install Power BI Desktop on your computer, go to the Microsoft Store page, click on “Get,” and follow the prompts. Once installed, you can start Power BI Desktop from the Windows Start menu or from the icon in the Windows taskbar.
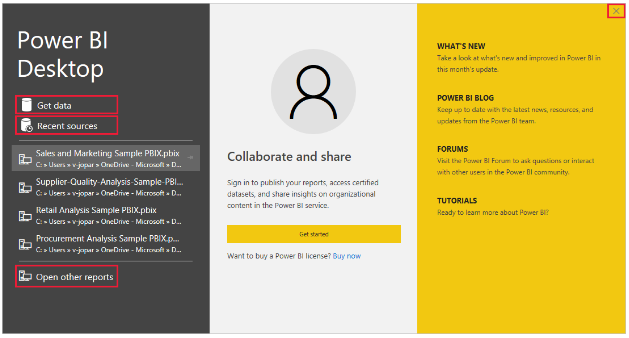
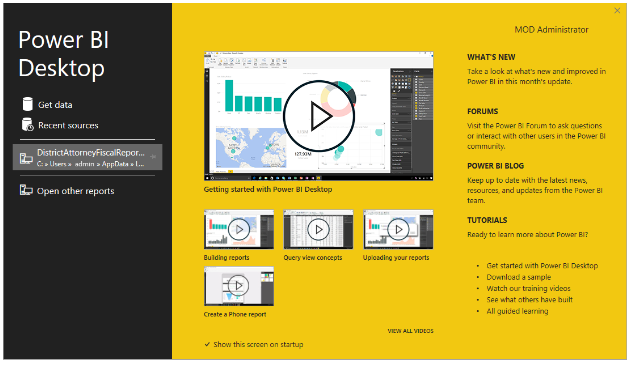
When you first launch Power BI Desktop, you’ll see the Welcome screen. This screen provides several options, including getting data, viewing recent sources, opening recent reports, opening other reports, and selecting other links. To close the Welcome screen, simply click on the close icon.
The left side of Power BI Desktop has icons for the three Power BI Desktop views: Report, Data, and Model. By selecting any of the icons along the left, you can change the current view.
If you’re using keyboard navigation, press Ctrl + F6 to move the focus to that section of buttons.
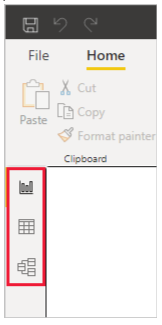
Report view is the default view.

There is also a Power Query Editor in Power BI Desktop, which opens in a separate window. Power Query Editor lets you build queries and transform data, then load the refined data model into Power BI Desktop to create reports.
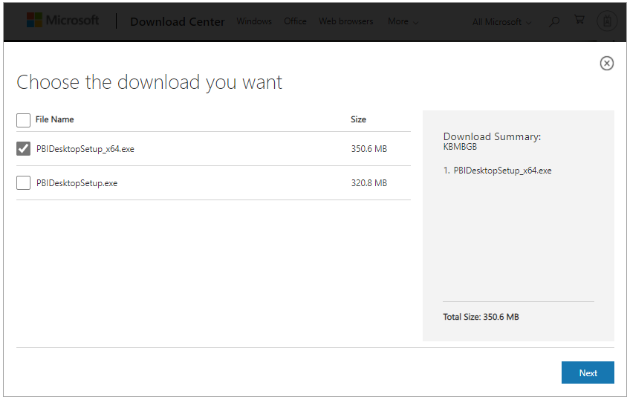
Download Power BI Desktop directly
You can download Power BI Desktop from the Download Center by selecting Download from the Download Center page. Choose between 32-bit and 64-bit installation files.
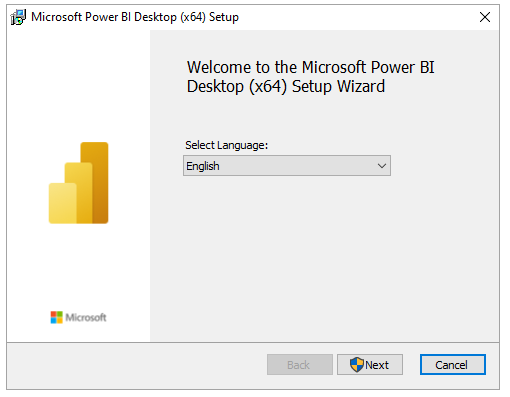
Install Power BI Desktop after download
Once you have finished downloading Power BI Desktop, you will be prompted to run the installation file. The installation package for Power BI Desktop is a single .exe file that includes all supported languages, with separate 32-bit and 64-bit versions. The .msi packages are no longer available. This approach makes a distribution, updates, and installation much easier and more convenient, especially for administrators. You can customize the installation process using command-line parameters. Once the installation package is launched, Power BI Desktop will install as an application and run on your desktop.
When you launch Power BI Desktop, a welcome screen appears.
When you launch Power BI Desktop for the first time, if it isn’t an upgrade, you’ll be prompted to fill out a form or sign in to the Power BI service.
In Power BI, you can then create data models and reports, and share them with others. Links to guides to help you get started with Power BI Desktop can be found in the Next steps section.
Minimum requirements
- Windows 8.1 or Windows Server 2012 R2 or later.
- .NET 4.6.2 or later.
- Internet Explorer 11 or later.
- Memory (RAM): At least 2 GB available, 4 GB or more recommended.
- Display: At least 1440×900 or 1600×900 (16:9) required. Resolutions lower than 1024×768 or 1280×800 aren’t supported because some controls display beyond those resolutions (e.g., closing the startup screens).
- Windows display settings: If the display settings are set to more than 100%, some dialogs required to interact with Power BI Desktop won’t be visible. In such cases, users need to check their display settings in Windows by going to Settings > System > Display and use the slider to return display settings to 100%.
- CPU: A 64-bit (x64) processor with a minimum speed of 1 gigahertz (GHz) or better is recommended.
- WebView2: If WebView2 wasn’t installed automatically with Power BI Desktop or was uninstalled, users need to download and run the installer for WebView2.
- WebView2: If WebView2 wasn’t automatically installed with Power BI Desktop or if it was uninstalled, download and run the installer for WebView2
Install Power BI Desktop on remote machines
If you need to distribute Power BI Desktop to your users using a tool that requires a Windows installer file (.msi file), you can extract the .msi file from the Power BI Desktop installer .exe file using a third-party tool such as WiX Toolset. However, please note that WiX Toolset options may change without notice, so be sure to refer to their documentation for the most up-to-date information.
To extract the .msi file, first install the latest version of WiX Toolset on the computer where you downloaded the Power BI Desktop installer. Then, open a command-line window as an administrator and navigate to the WiX Toolset installation folder. Run the following command, replacing “path to Power BI Desktop installer” with the path to your downloaded Power BI Desktop installer and “output folder” with the desired output folder path:
Dark.exe <path to Power BI Desktop installer> -x <output folder>
For example:
Dark.exe C:\PBIDesktop_x64.exe -x C:\output
The output folder will contain a folder named AttachedContainer that includes the .msi files.
Note that upgrading an installation from an .exe to a .msi that you’ve extracted from an .exe is not supported. To upgrade, you must first uninstall the older version of Power BI Desktop.