Power BI – Get Data from Power BI Desktop files
Streamlined upload to Power BI
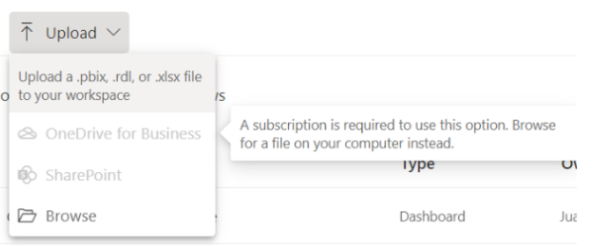
To upload files to a workspace, click the New button and then click the Upload dropdown menu. By selecting Browse, you can connect to files stored in OneDrive for work or school or any SharePoint site you have access to, or you can upload files from your computer. Below is an image showing the menu options.

If you upload a local file, a copy of the file is added to the workspace. Power BI creates a connection to the file using OneDrive for work or school or SharePoint and automatically syncs the changes you make as you make them in SharePoint.
One of the benefits of uploading files this way is that both OneDrive for work and school and SharePoint use the same file selection interface.
With the new Quick access section or More places links, you can choose a SharePoint site without pasting a direct URL, as previously required.
In the following image, you can see how an Excel workbook appears in Power BI just like it would in Excel Online.

The OneDrive for work or school and SharePoint options are disabled if you don’t have a subscription, but you can still browse your local files. In the following image, the subscription options are disabled, while the Browse option is highlighted.
Personal OneDrive accounts cannot be used to upload files.
Publish a file from Power BI Desktop to the Power BI service
Publish from Power BI Desktop is similar to uploading files to Power BI. Initially, you can import your file data from a local drive or connect to it via OneDrive. There are, however, some differences. Make sure the online and local copies of the data are current if you upload from a local drive.
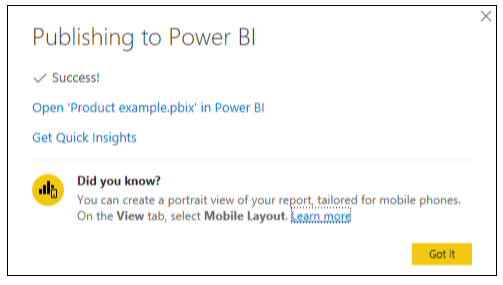
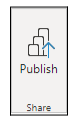
- Select File > Publish > Publish to Power BI from Power BI Desktop, or choose Publish from the ribbon.
- Open Power BI and sign in. Signing in only needs to be done once.
As soon as your report is complete, you will receive a link to open it in Power BI.